Introduction
In this article, I will show you how to configure WP Schedule Tweets.
Step 1: Sign up for Twitter developer account.
In order to get started with the new Twitter API, you need a developer account. If you do not have one yet, you can sign up for one.
Step 2: Create a Project and connect an App
Next, in the developer portal, create a new Project.
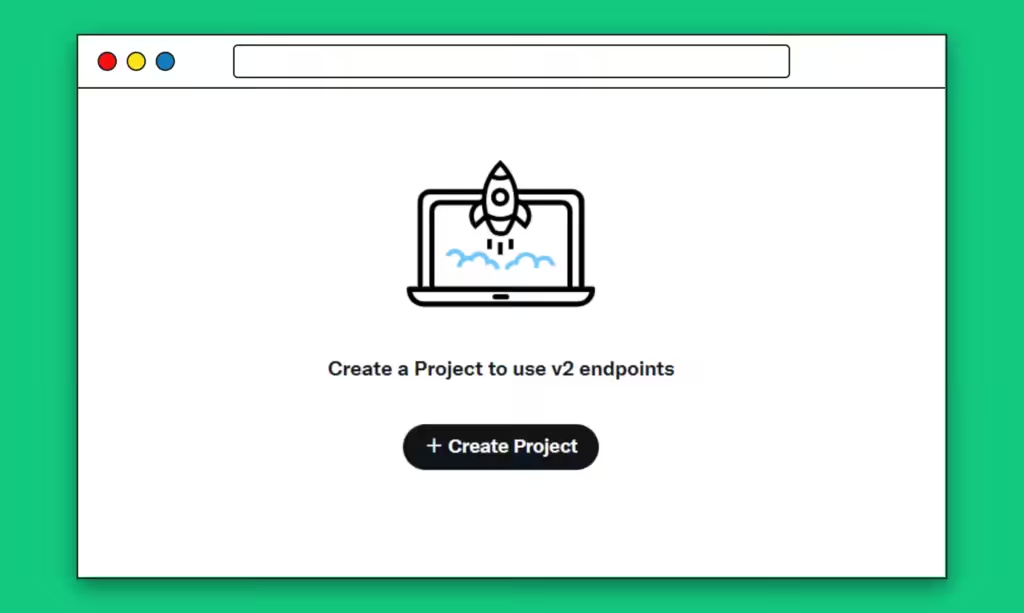
Give it a name, select the appropriate use-case, provide a project description. Next, you can either create a new App or connect an existing App (an App is a container for your API Keys that you need in order to make an HTTP request to the Twitter API).
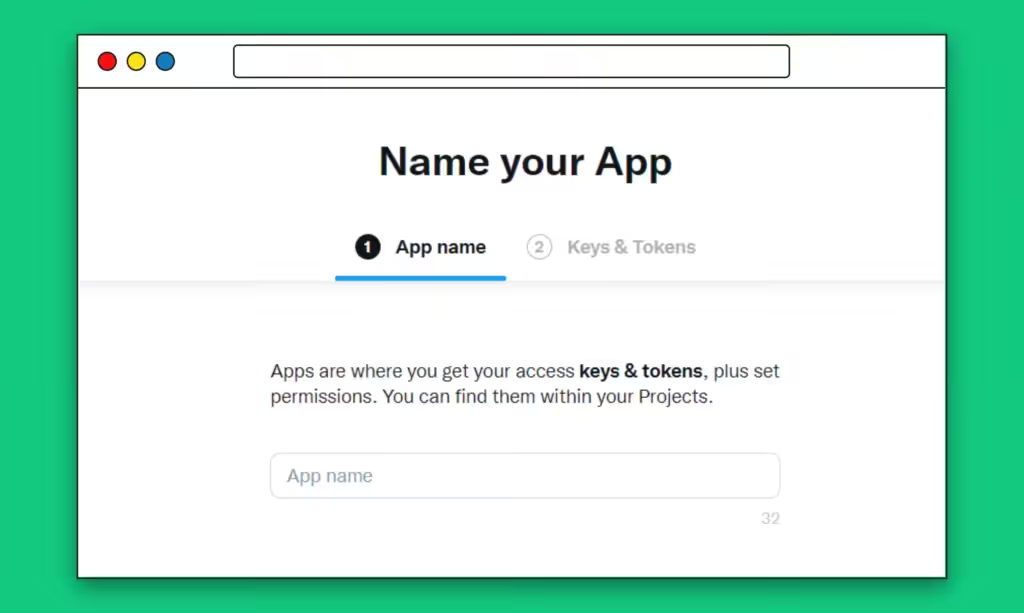
Give App name and click “Next“.
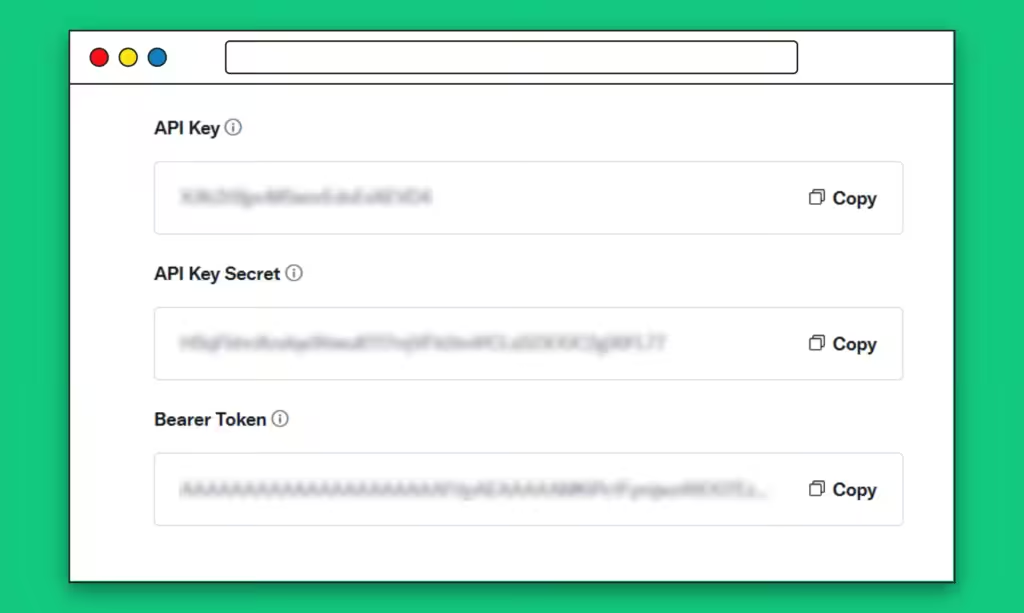
Copy your “API Key” and “API Key secret“. Paste “API Key” and “API Key Secret” in WP Schedule Tweet in settings from your WordPress Dashboard.
Click “App Settings” to configure your app
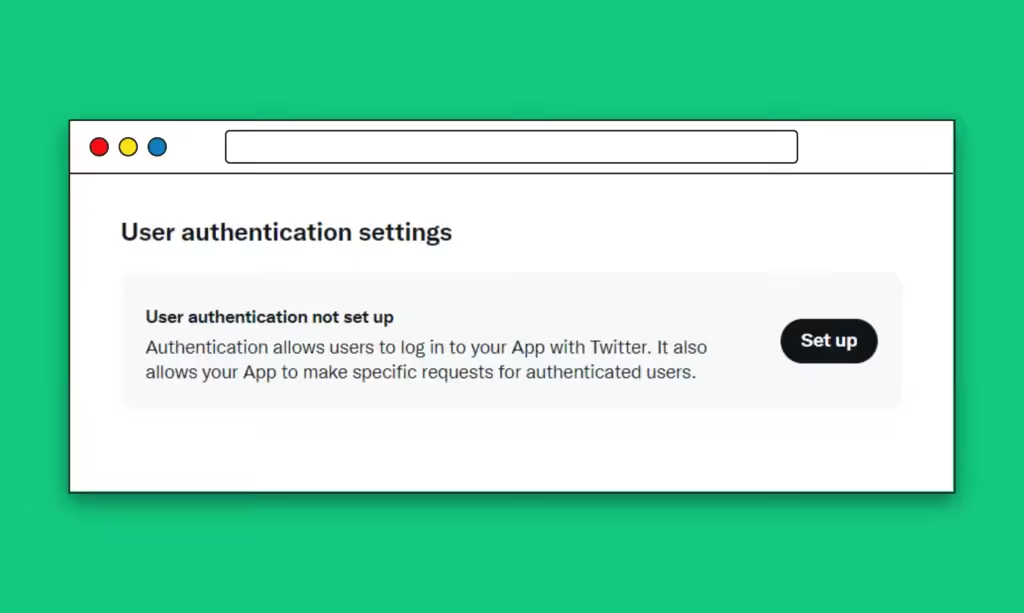
Click “Set up” to configure User authentication settings
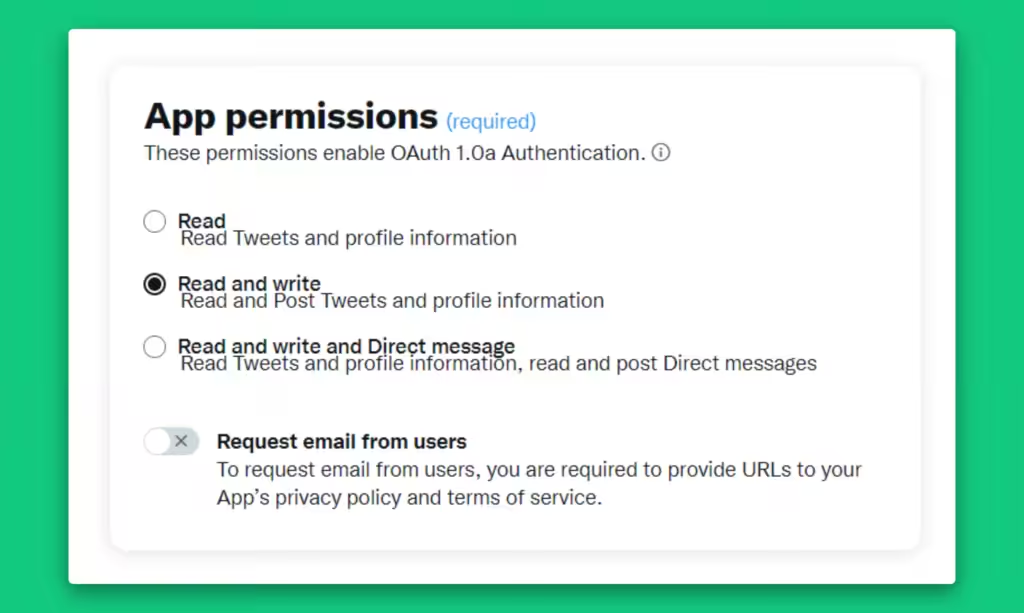
Set “App Permissions” to “Read and write“.
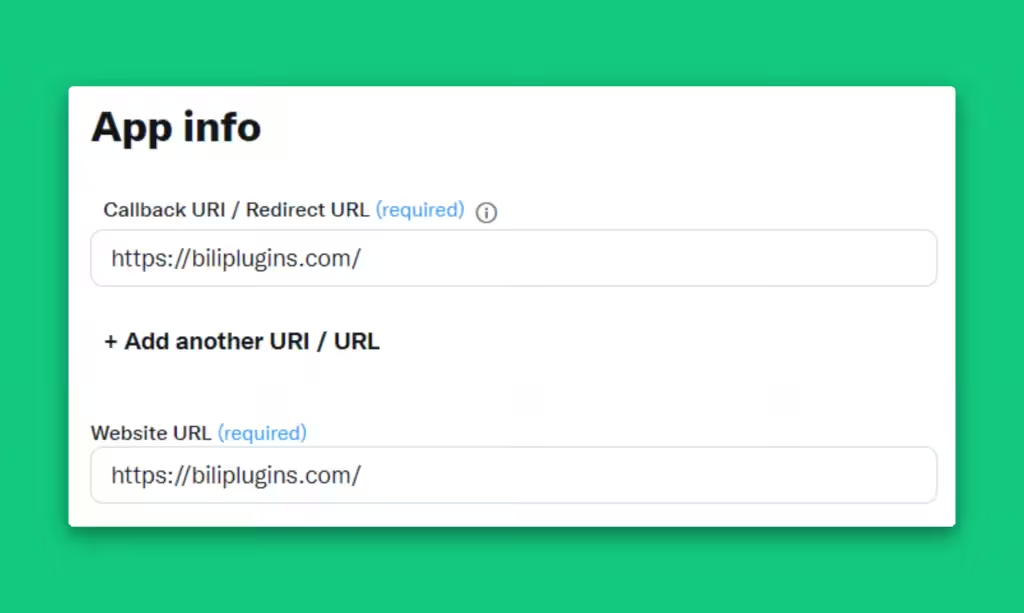
Add your website as the “Website URL” and the “Callback URI“.
Click “Save” to save settings.
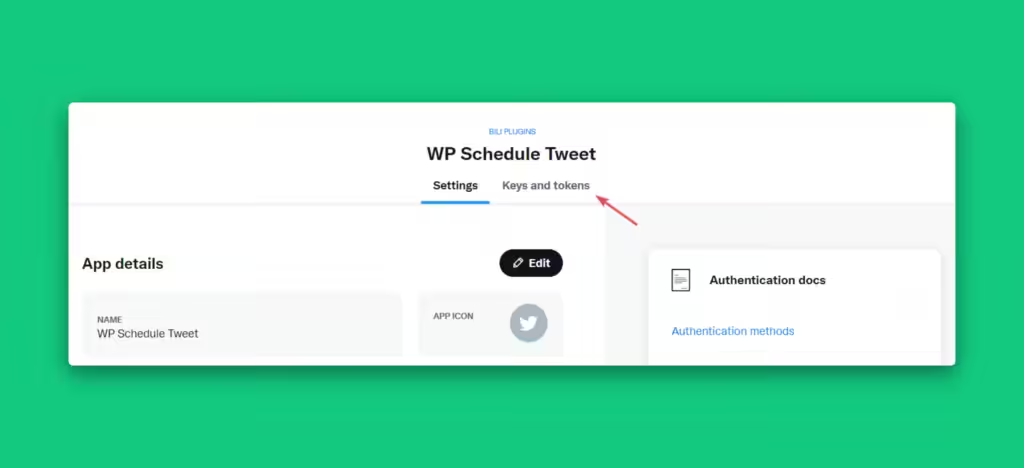
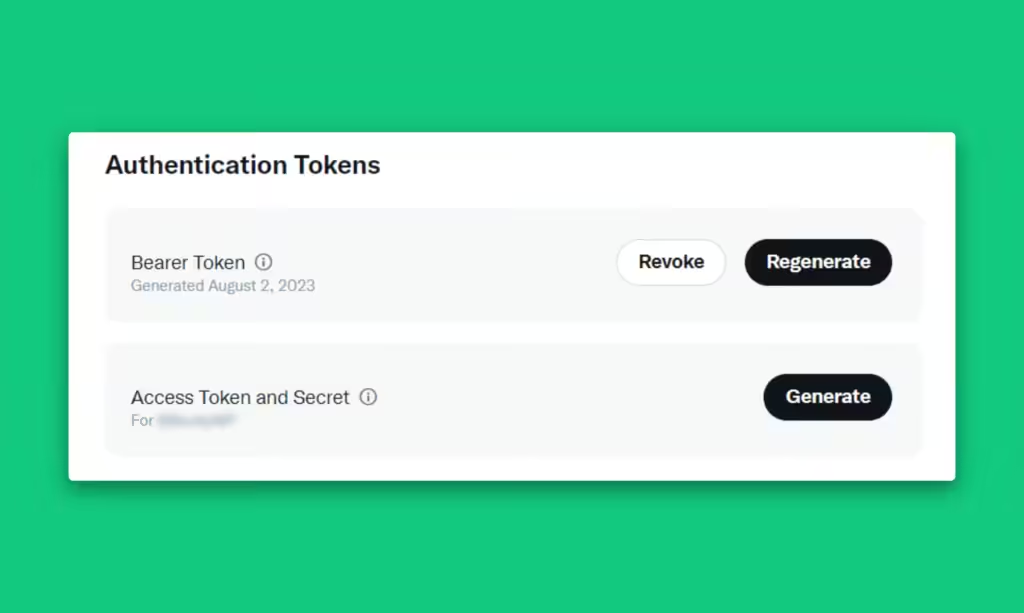
Click “Keys and Tokens” tab. Scroll to “Authentication Tokens” section and Generate “Access Token and Secret“.
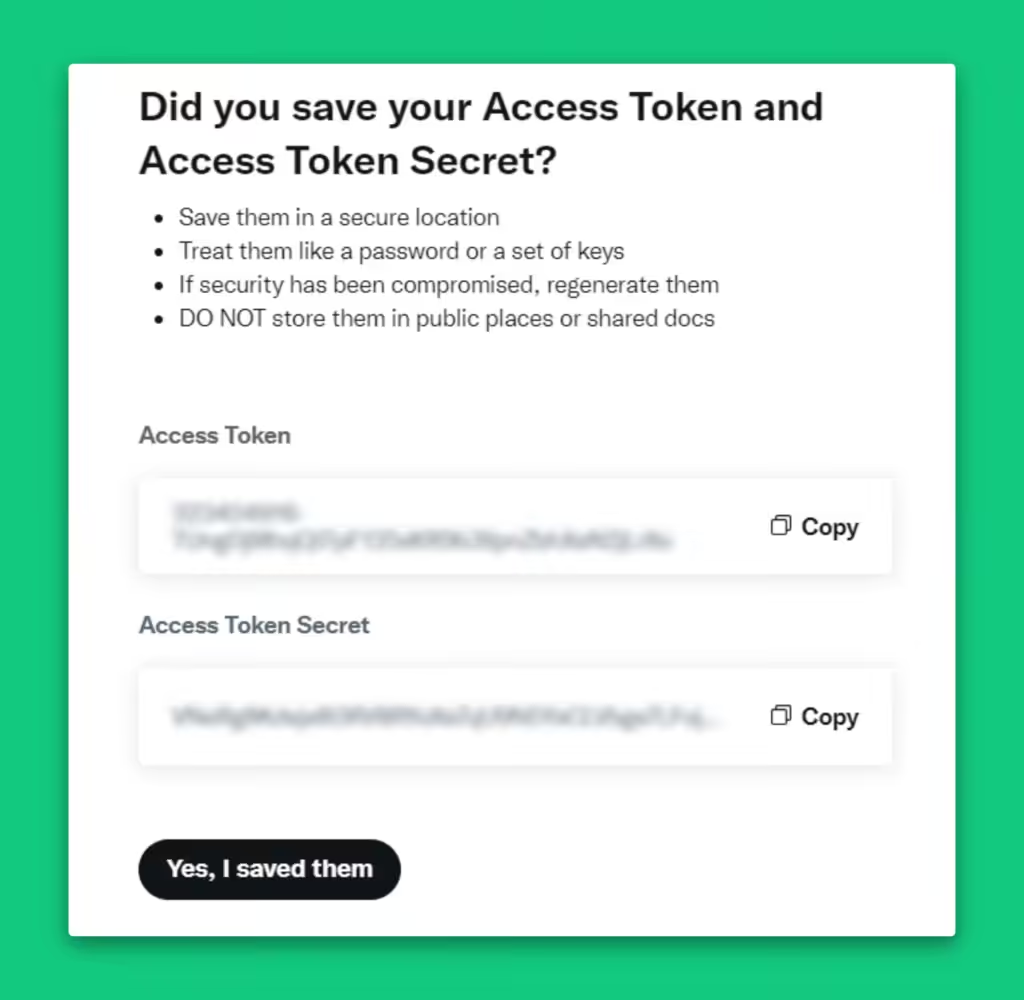
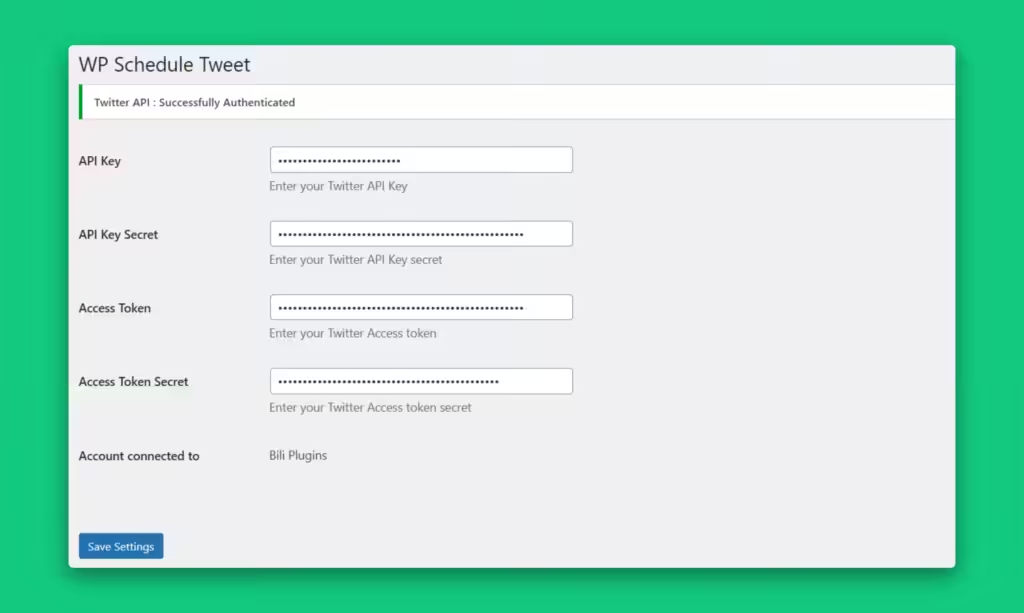
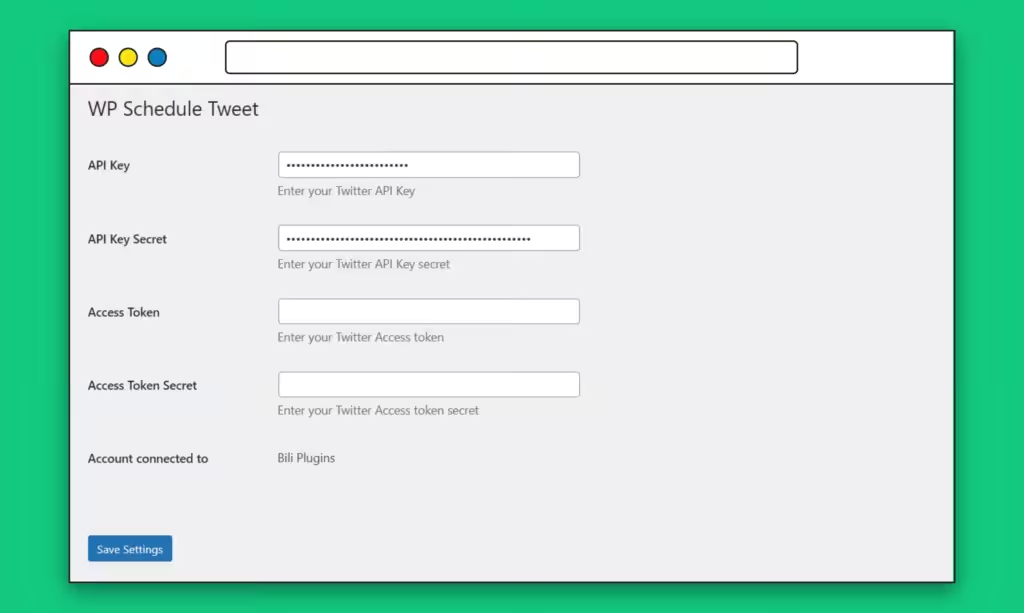
Copy your “Access Token” and “Access Token Secret“, Paste it in WP Schedule Tweet settings from your WordPress Dashboard and click “Save Settings“.