
If you’ve ever run a site loaded with images, you know the drill: as your media library grows, so does the load on your server – and so does the wait time for visitors loading pages from across the globe. That’s exactly the problem a CDN (Content Delivery Network) solves, and Media Library Manager now makes it effortless to hook your site up to one.
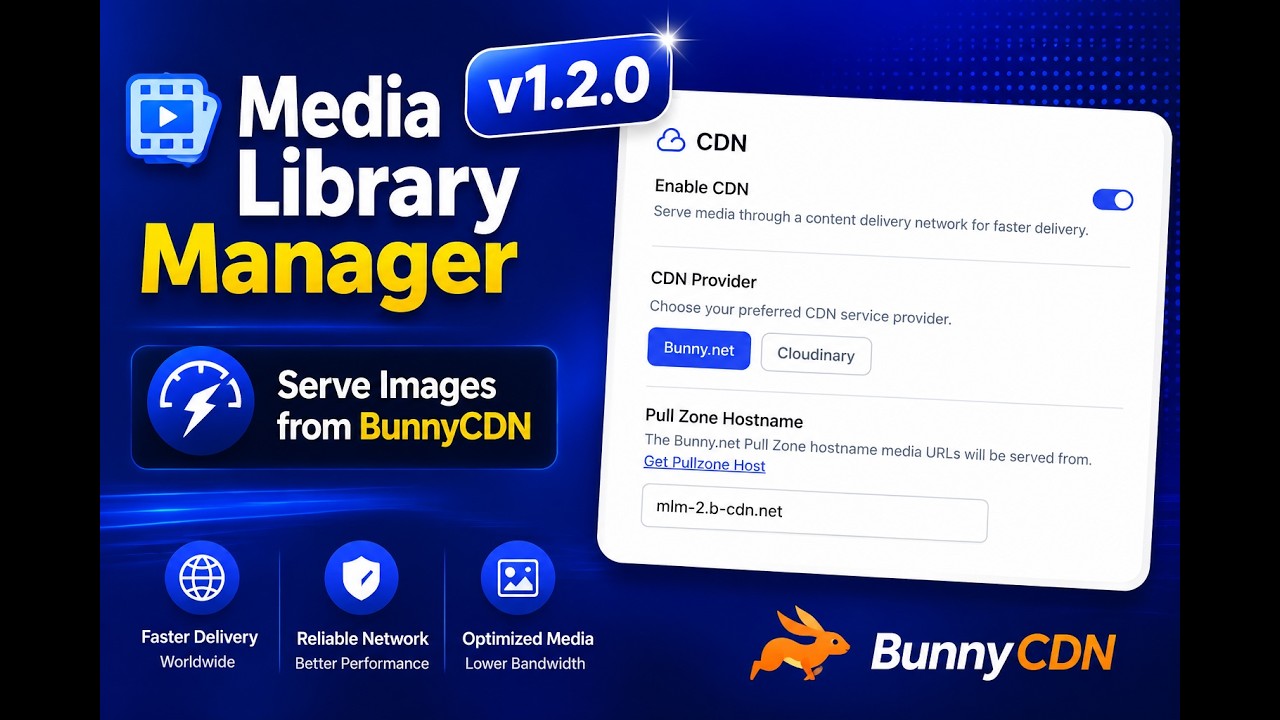
We’ve added a BunnyCDN integration. Once configured, every image URL your site outputs – attachment URLs, srcset responsive image sets, and images embedded in post content – is automatically rewritten to point at your Bunny Pull Zone instead of your own server.
That means:
- Faster page loads – images are served from Bunny’s global edge network, closer to your visitors.
- Less server load – your origin server stops handling every single image request.
- Zero markup changes – no need to touch your theme, templates, or content. The rewrite happens transparently on output.
How to configure?
- Create a Pull Zone in your BunnyCDN dashboard ( check out the video below for steps )
- Head to Media → Media Library Manager → CDN in your WordPress admin.
- Enable the CDN option, choose Bunny.net as your provider, and paste in your Pull Zone hostname (e.g.
yourzone.b-cdn.net). - Save – and that’s it. Your media is now served from the CDN.
How It Works
You don’t need to touch a single line of code or edit your theme. Once you turn the feature on, the plugin automatically finds every image on your site – in posts, pages, thumbnails, everything – and quietly points it to BunnyCDN instead of your own server.
Your WordPress dashboard doesn’t change at all. When you’re uploading or managing media in the admin area, you’ll still see your normal site URLs – the CDN only kicks in for what your visitors see. So editing content feels exactly the same as it always has.